Category Archives: Paper Collections

Decorated Tea Box

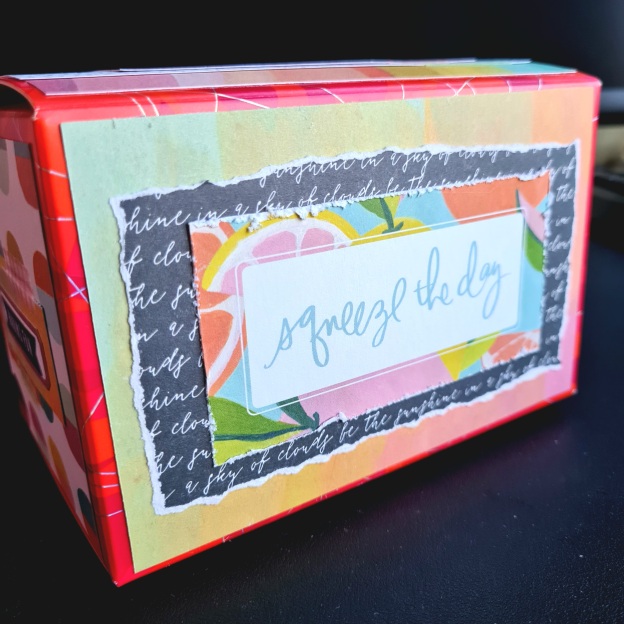
Having shared the Starbucks Joyful Medley tea bags with my colleagues, I decided to decorate the sturdy tea box. I chose to use papers from the Heidi Swapp Sun Chaser collection, as its colours are bright enough. (I don’t think I have anything in my paper collection that is as Christmas red as the box, this is the closest I could get – and the easiest paper collection within reach as I have yet to store it properly after the purchase last month!)

It was another quick & easy project: just measure the 3 different sides of the box, cut out papers of matching size (box length minus a quarter inch, for the coloured border), glue on box then decorate!

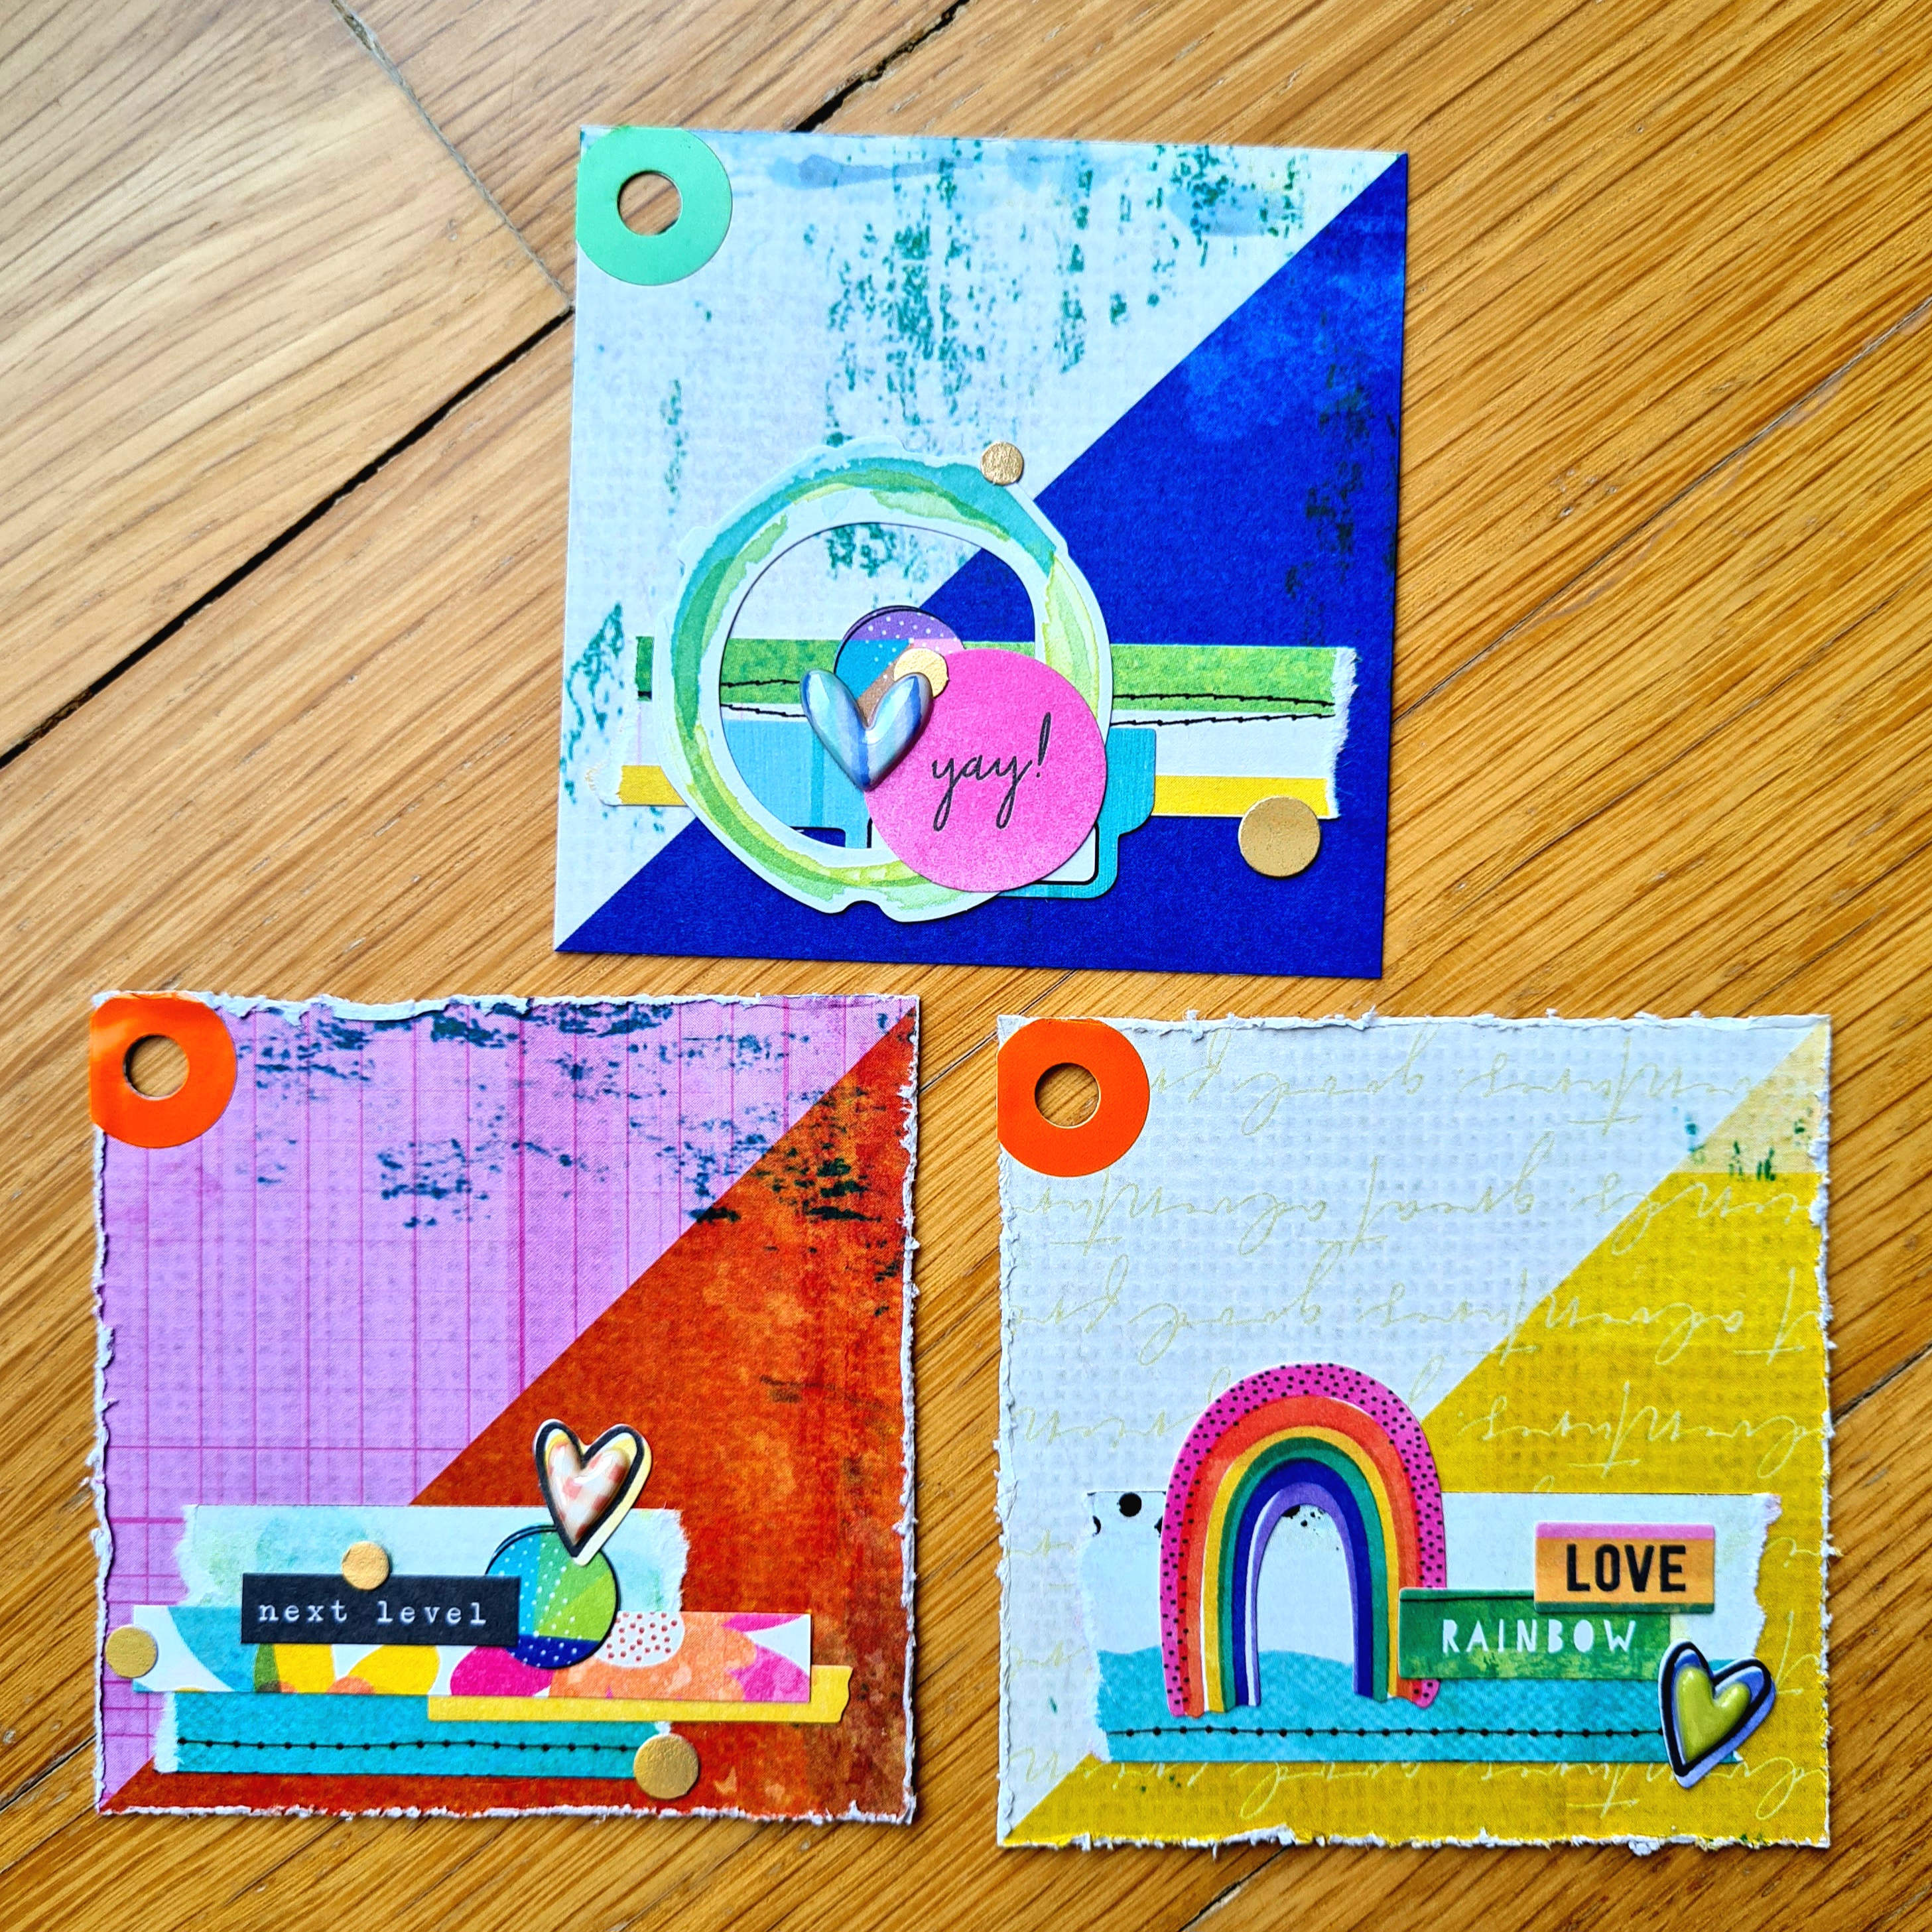
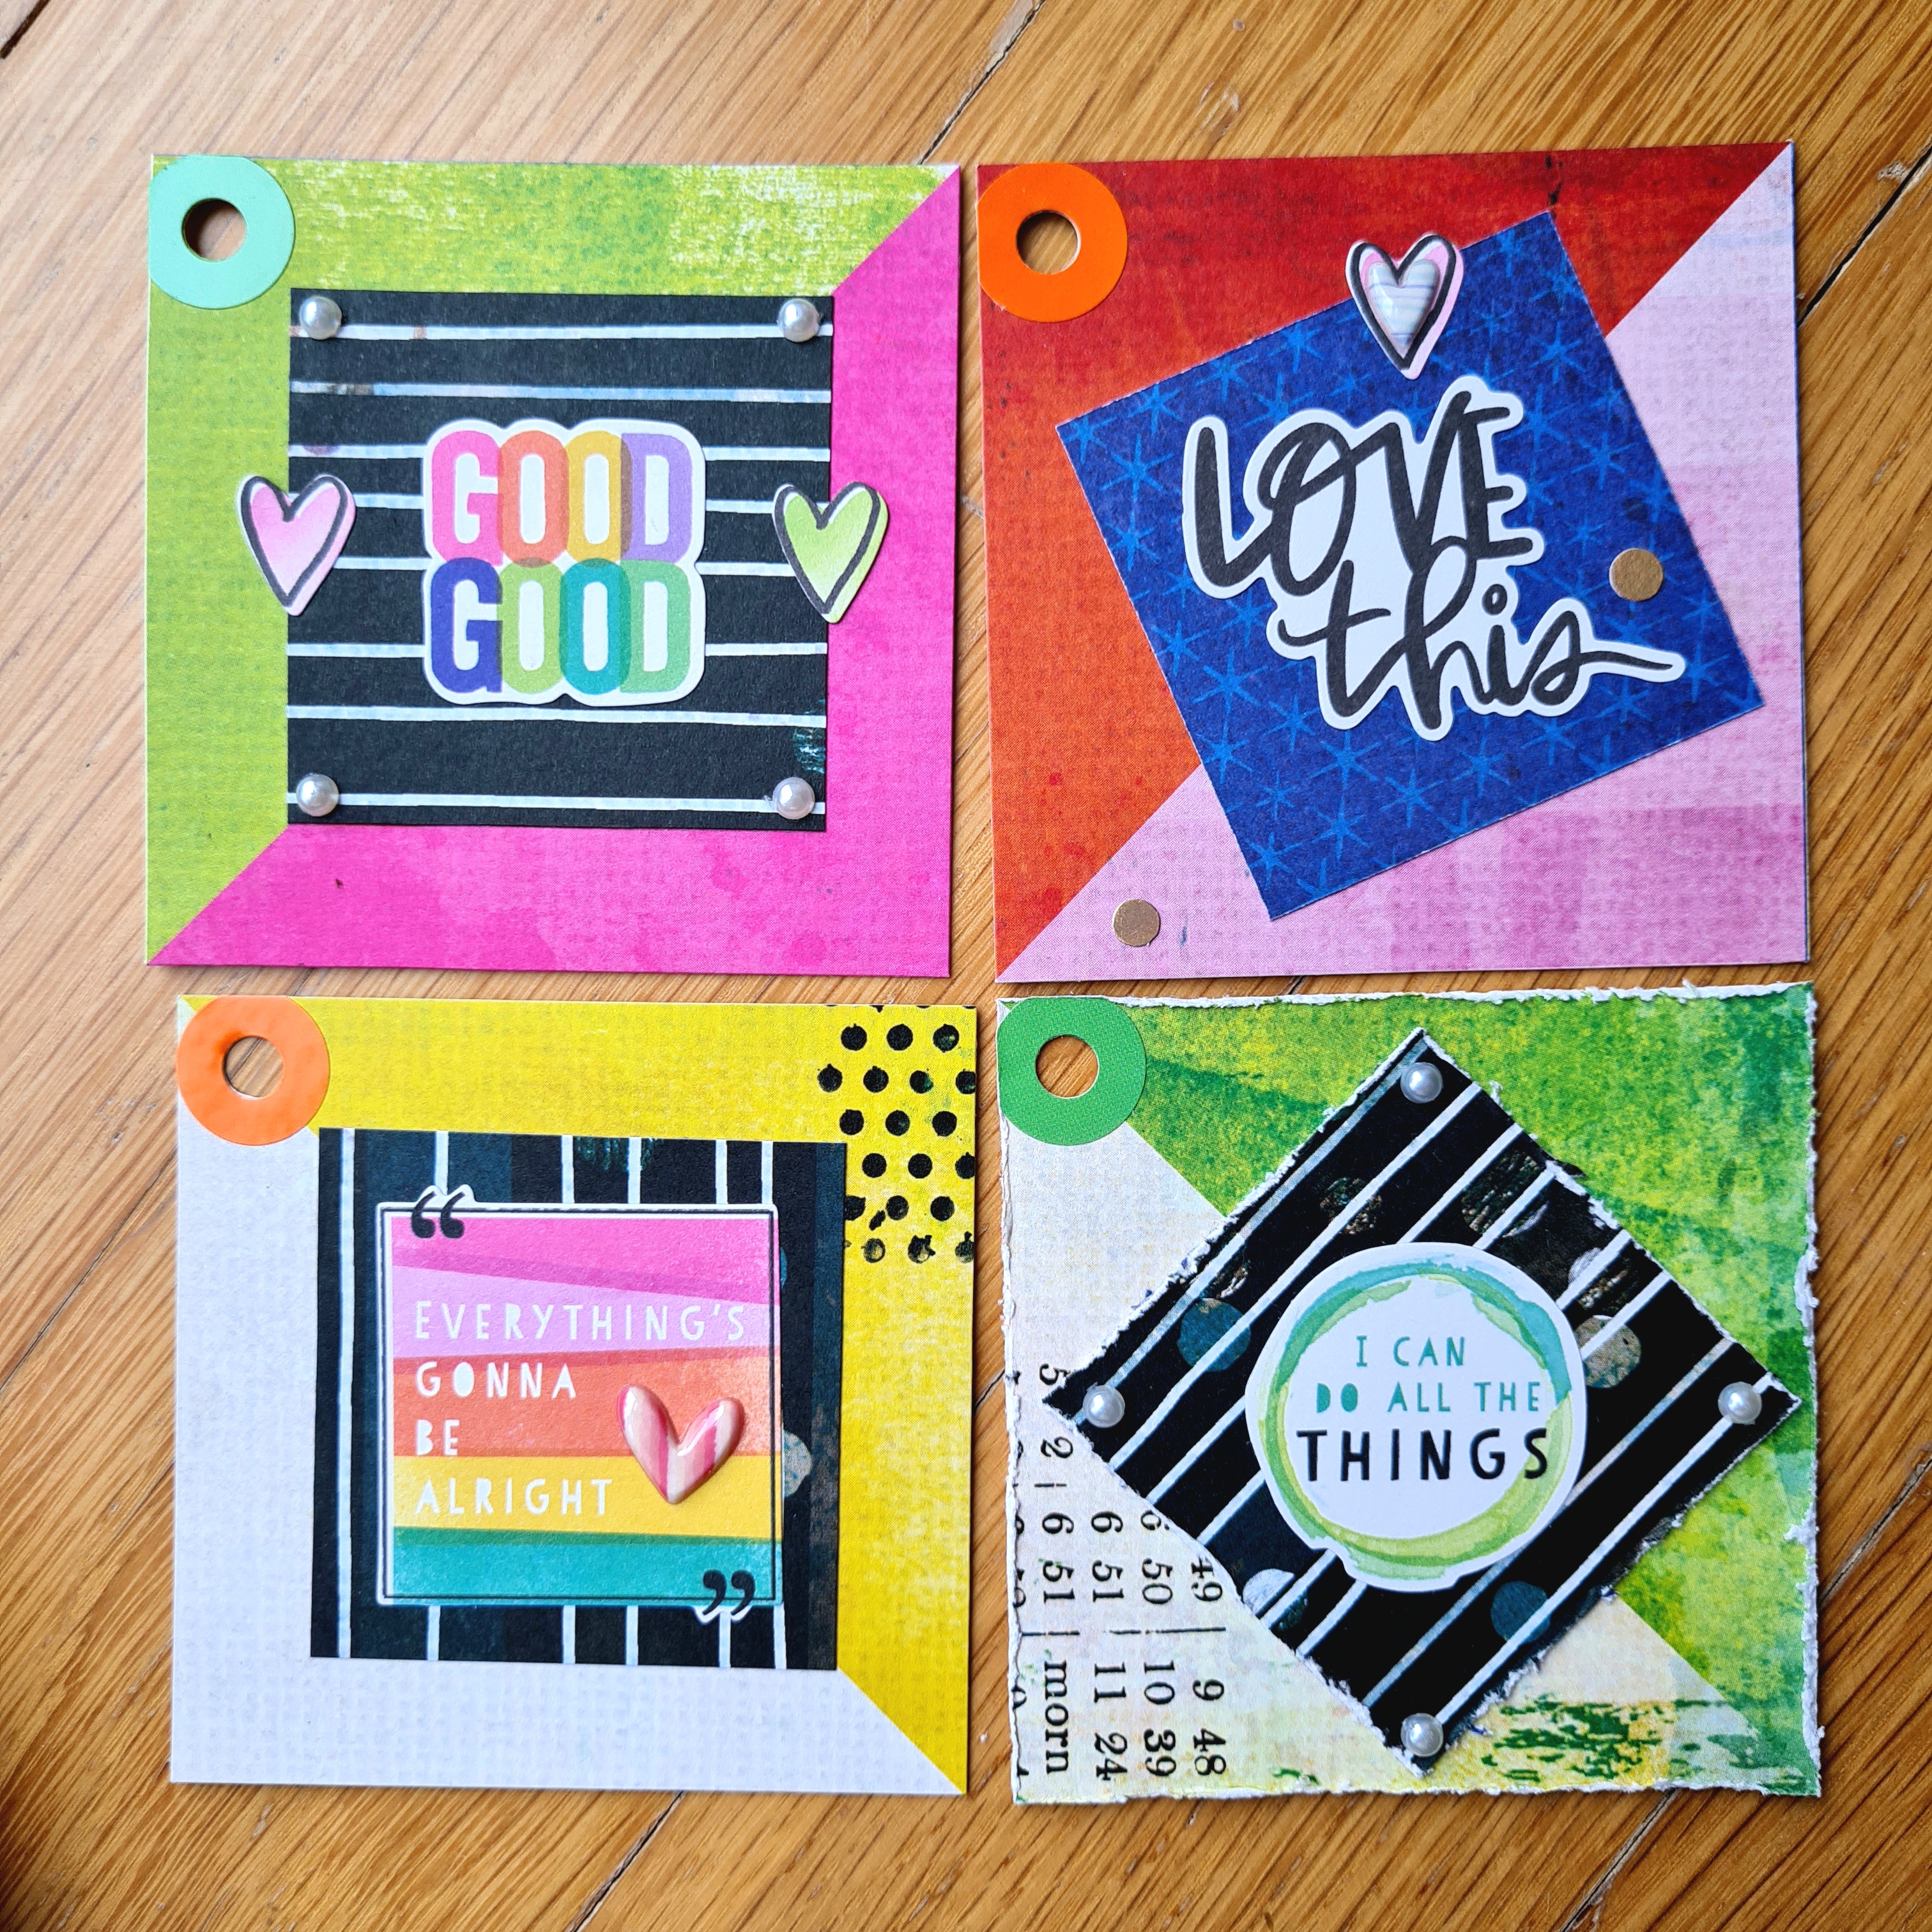
I used a mix of papers and washi tape from the Sun Chaser collection for a layered look. The Heidi Swapp Carefree collection has slightly duller colours, but the 6×12 sticker sheet provides a sufficient match to create a cohesive look.

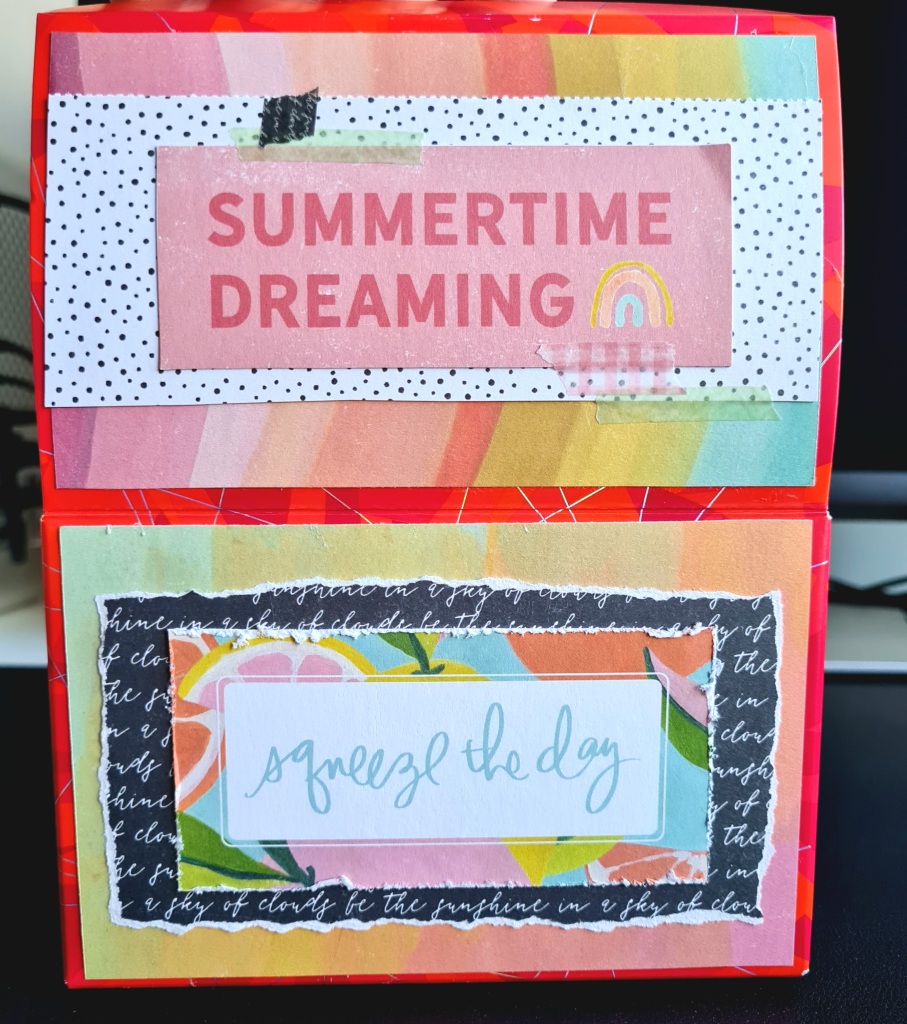
The sentiments from the Sun Chaser paper Happy Place makes embellishing the large surfaces a fast and simple job.

Since the inside of the lid is a nice smooth bright red, I embellished it with a sticker too! Think I’ll fill this box with a selection of tea bags to share with a friend!!

Good Vibes Tea Envelopes

Decided to share my current favourite Starbucks Joyful Medley tea bags with my colleagues during last week’s Christmas gathering – a box of 12 tea bags divided nicely into 2 bags per pax. To package the little presents, I created boxed envelopes using the WRMK Envelope Punch Board and Crate Paper Good Vibes 12″x12″ paper pad.

This was an easy project with just a couple of measurements required: the tea bags are rather large at 3.5″ squares, so I’ll need to make square envelopes of 3.75″. Based on the dimensions given on the Punch Board, I simply trimmed 6 different papers from the paper pad into 6.25″ squares, and used the Punch Board to score & punch out the relevant shapes.

After folding & gluing to form the boxes, it’s a fast job to decorate the fronts using the sentiment squares in the paper pad. I had made mistakes trying to use overlarge sentiment squares on 2 of the boxes, and thus added paper dollies and some old Doodlebugs Sprinkles to cover up the glue marks. For a cohesive look I then added the Sprinkles to all the other boxes in the set!

The 2 tea bags are a trifle too bulky for the half inch thick box envelopes. Heart-shaped stickers from my stash just barely held the envelopes closed, with the centre bulging slightly. Well, I guess that’ll make it easy for my friends to open up the packages!

I included the collage cards made using gifted ephemera as mini X’mas greetings. Both the box and the card designs are not relevant to the season at all, but the bright cheerful colours are suitable for the festive mood. Hopefully then the gift packaging can be reused easily.

ATC-sized Tag Flip Book

After making 4 projects (accordion book4″x6″ tag flip albumtag flip book and 3″ square tag flip album)  and one Artist Trading Card using 5 sheets of 12″x12″ papers from the Vicki Boutin Colour Study collection, I was left with about half a sheet of the paper Line Drawing and a quarter of the Sticker Book yet unused. While the sentiments can easily be kept for another future project, I decided to use up the other shaped stickers and as much paper scraps as possible, so that I won’t have anything from this paper collection left in my craft stash.

The cardboard base of the Sticker Book bears the same print as the paper Array of Colours. Initally I thought of making use of the thick stiff paper as the cover of a match book, but a measurement mistake forced me to trim the cardboard into smaller pieces of 2.5″ x 3.5″. The cardboard base for the Fernwood Tassels went the same way. These became the colourful bases for some quick collages using paper scraps and stickers.

As the reverse of the tags still bear the original product descriptions, I covered them up with the spare Line Drawing paper, thus creating double-sided tags. The remaining sheet was trimmed to make another 4 new tags.

It then became a challenge of how creative I can get with paper scraps and even sticker sheet trimmings! In the end, I even got out my circle punch for some variety in shapes instead of dealing with just different sized rectangular strips.

All the surfaces are splattered with Kaiser Mists white iridescent spray, and alternate corners of each tag are rounded for a more interesting shape. I also created reinforcement rings from the paper scraps for the thinner tags.

All 7 tags are hung from a blue metallic binder ring. I’m not really pleased with the ribbons and twine I selected for the tag flip – usually I pick colours seen in the tags but somehow the final combination of purple, pink and black & white doesn’t look as coordinated as that in the Colour Study collection. Perhaps I should try braiding up each set of strings for the tags to be used individually instead.

But for now, all the tags would go in my box as another double-sided tag flip book. Flip-through of this can be seen on my Instagram post.

2 Recent ATCs

Sharing the ATCs I made for recent craft projects: one was made to record the 4 items I made (accordion book, 4″x6″ tag flip album, tag flip book and 3″ square tag flip album) using Vicki Boutin Colour Study papers and Sticker Book.

This was an easy one, assembled quickly using the paper scraps on the craft table while I’m working on the tag flips. I still have some leftover materials from the collection, must come up with some way to finish up the scraps so that it won’t add to my craft stash.

This second artist trading card uses the same materials as I did for the mixed media hanging display: leather paper cutoff as the base and trimmed photo from the Somerset Studio magazine article for the background. The leather paper is too uneven to write on, so I scribbled the project details on plain scrap paper and glued to the reverse side.

The various decorations – Kaiser Mist sprays, Kaisercraft wooden embellishment, metallic corner plate, Daiso stickers, lace and cork tape – makes this ATC looks like a mini version of the hanging display. A fitting & suitable record of the project!

Little 3″ Square Tag Flip Album

Sharing the last of my 4 planned projects, using 5 papers (12″x12″ each) and the 6 page Sticker Book from the Vicki Boutin Colour Study collection. After working on the previous 3 (here, here and here), I ran out of steam and took a long time (2 months!) to add the final finishing touches to this tag flip.

This project basically makes full use of the colourful 3″ squares of the paper Abstract as the background of the little tags, then I simply added stickers from the Sticker Book to create little collages. As you can see, I followed certain sketches (layouts) so as to work fast and simple.

The dark colours of the paper Line Drawing provided contrast, and helped use up these scraps from the previous projects.

Coloured reinforcement rings ensure the tags could last. Some tags have distressed edges for variety. I also added adhesive pearls and puffy shaped stickers from my stash for a bit of 3D effect.

The reverse of the tags were left blank for little 2″ square photos or journaling, but I cut up two squares from the Abstract paper to serve as little pockets for 4 of the tags. The tab/clip shaped stickers in the Sticker Book identify the openings.

Another plastic binder ring holds all the 14 tags together. The last of the four coloured Tassels with Charms from the Fernwood collection completes the look.

A flip-through video is available on my Instagram post.