Monthly Archives: August 2022

August & Sept Planner Pages

I started late again on my August planner pages, completing them only when the month is half over. So I thought I might as well do the September pages at the same time, since the relevant art supplies are out.

For both months, I used the pack of Texture Mixing Material Paper from MoKing. Main difference is the choice of colour theme: for the month of August, I used the pink Dried Flowers stickers from Daiso, while for September I used the purple version. So it’s a matter of selecting a matching mix of papers for the 2 months.

Very glad that I managed to use up the rest of the Chinese quotations PET tape involved in July. One less item, however small, in my gigantic craft stash!

This time I did not use UHU glue on the vellum paper, applying instead my Helmar 450 quick dry adhesive. It worked: the vellum no longer curls up after the glue dries!!

For the month of September, I started on a fresh pack of Chinese sentiments PET stickers that I bought online some time ago. Love how the casual font of the words give the resulting collage a quirky fun look!

Somehow I’m finding it more and more difficult to create these little collages……not pleased with a lot of the final pieces, hence just sharing the few that I like. Perhaps this is just a phase and I’ll enjoy it more after I get distracted by projects of other styles. I still have 2 packs of Daiso floral PET stickers to use up though (green & yellow), so I have another 2 months to give this particular style another go.

Simply Florals Decoupage Kit – Slim Cards

I’m resigned to getting my British craft magazines 2 months late……at least they’re arriving in the bookshops here, so never mind that I have to find some way to deal with all the “Father’s Day” and “Mother’s Day” sentiments in the craft kits way after the celebrations are over. I still have the majority of the kits to enjoy anyway, right?

This is how I console myself when I opened Issue 372, June 2022 of the Crafts Beautiful magazine earlier this month immediately after I bought it. Totally love the free Simply Florals cardmaking kit by West Design that came with the issue! I aim to use up as much of the crafting materials provided as possible before I put away the magazine for good!

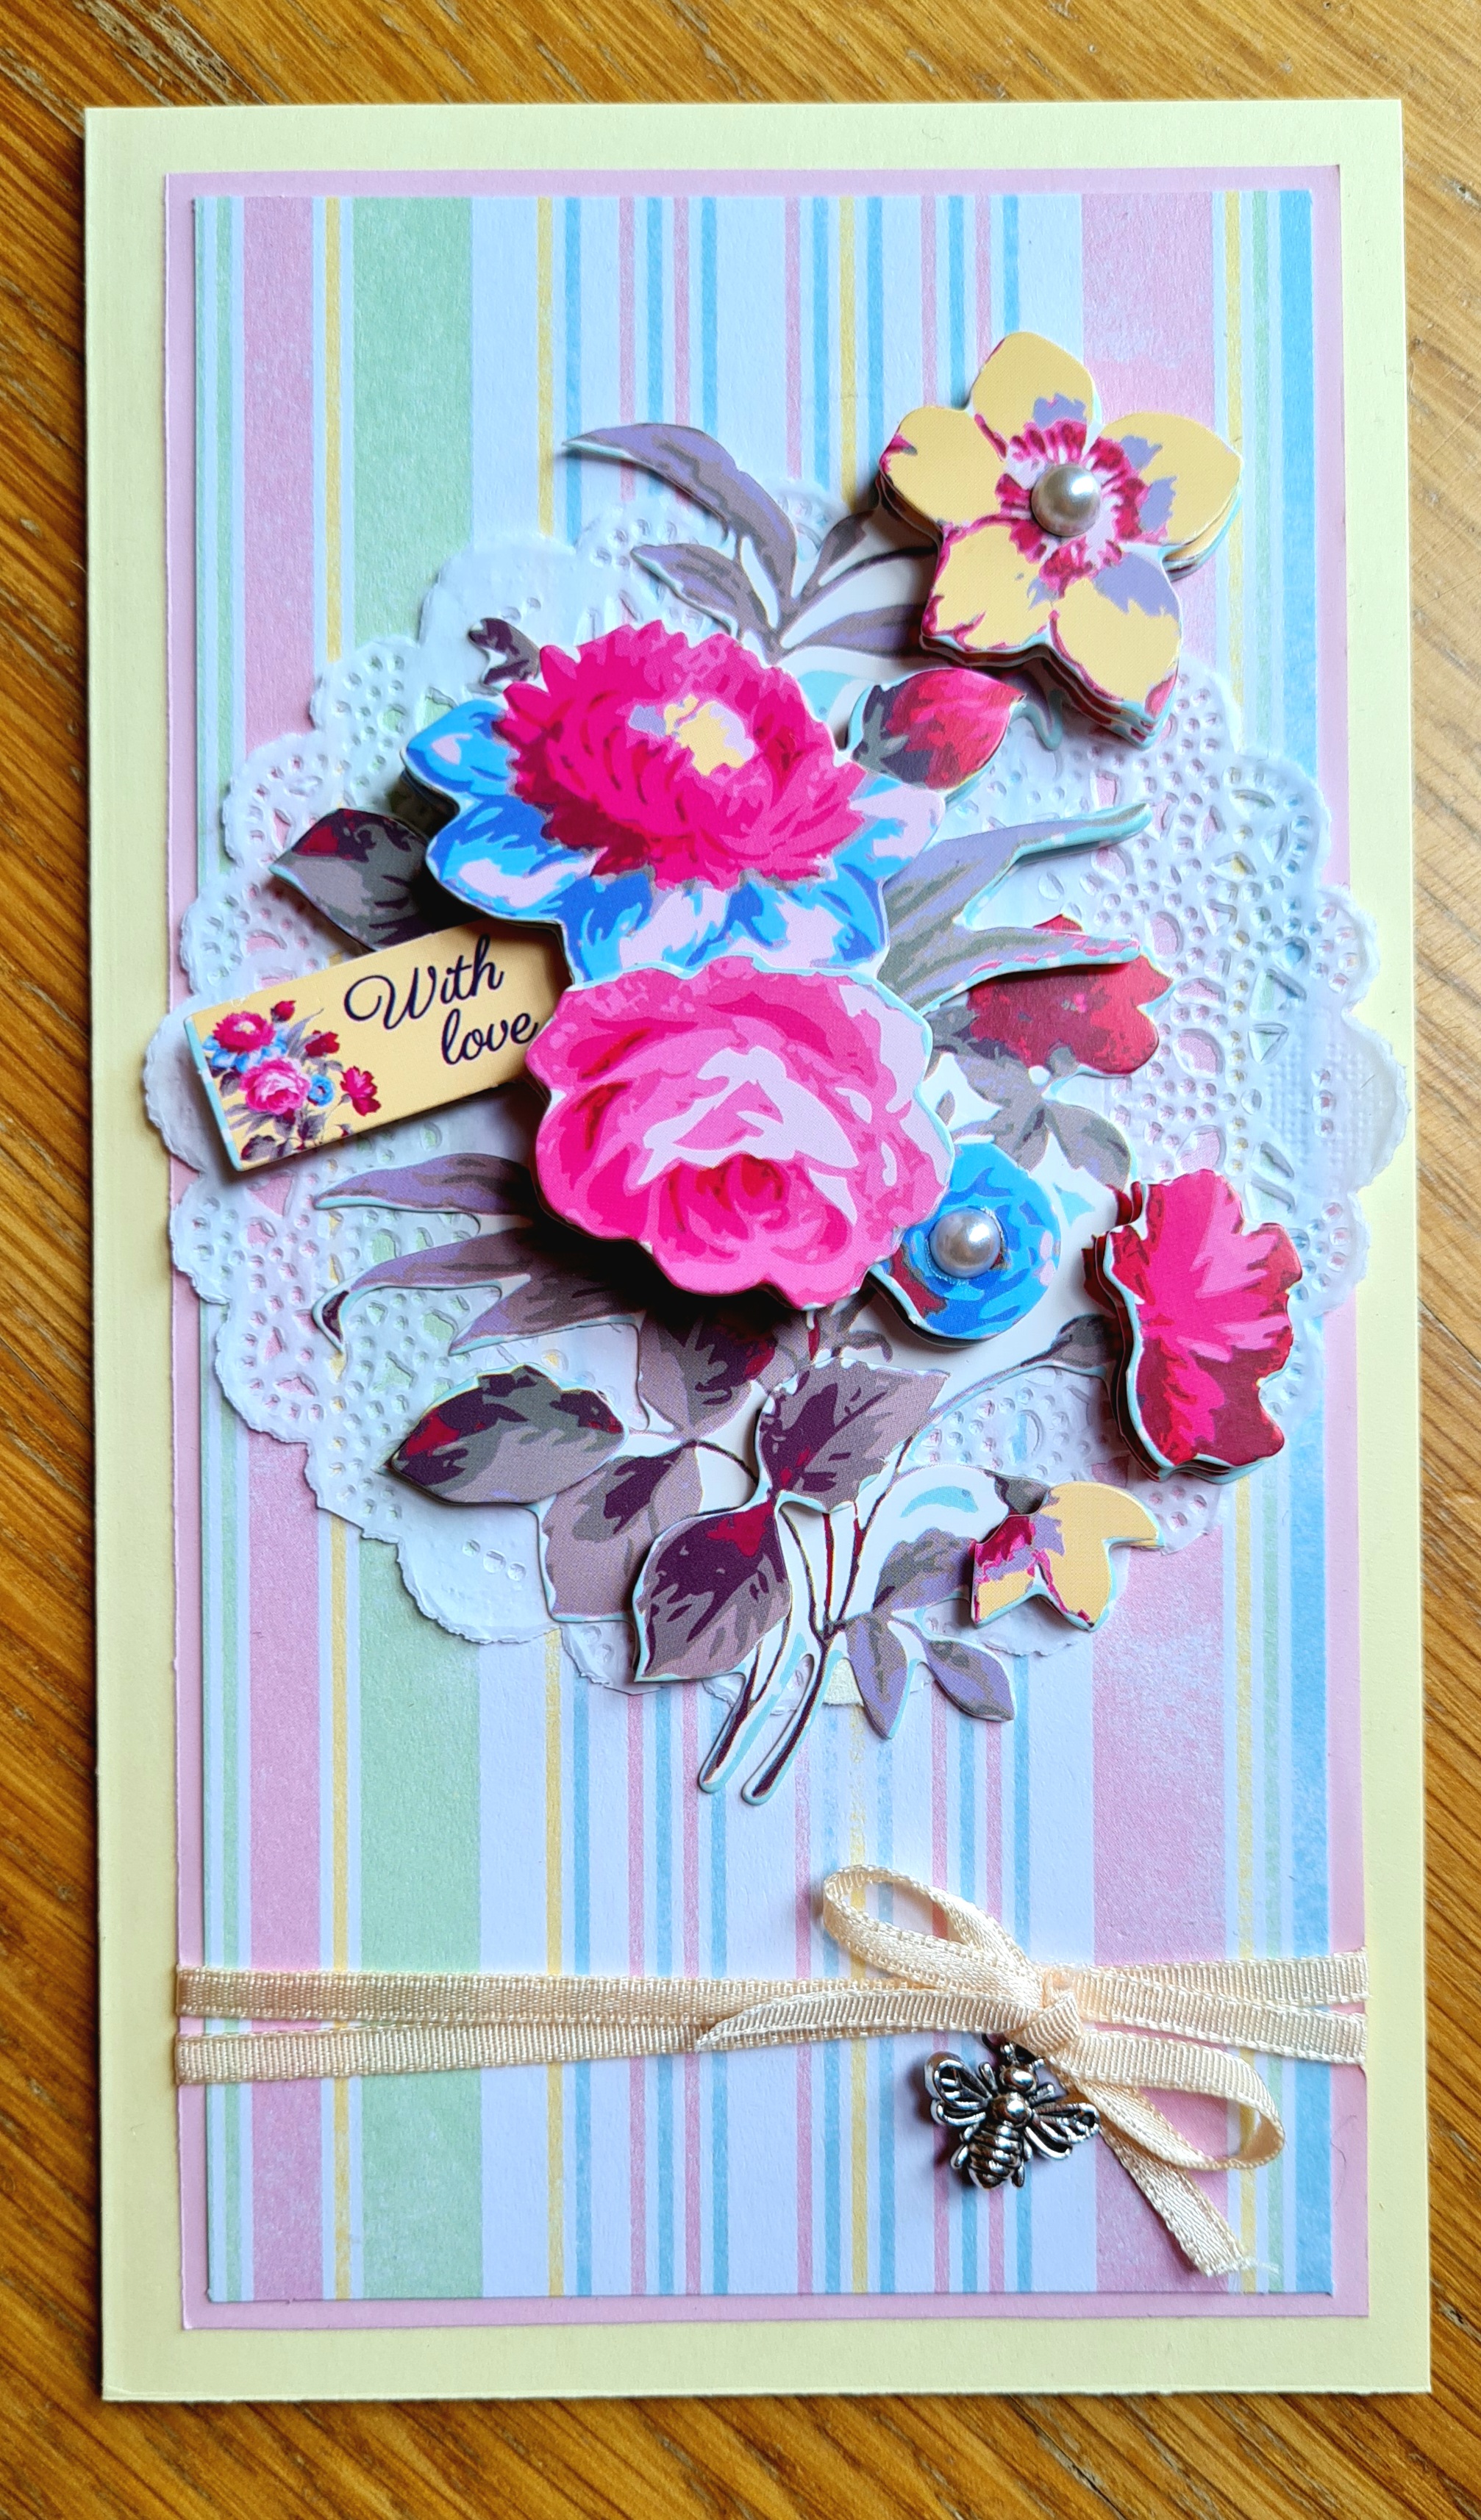
Think I’ve said countless times how much I love pre-cut decoupage card kits – so easy to just press out the pieces and assemble! Plenty of adhesive foam pads provided in the kit to make this 6-layered bunch of flowers. Inspired by one of the card designs shown in the magazine, I used the long coloured striped card provided as the background and matted it on some matching pink paper from my stash.

I found some scrap ribbon that matched the colour scheme, and wrapped it round the panel twice before attaching it to a lemon card base measuring 3.75″ x 6.5″. A metallic bee charm (also from my stash) completes the look.

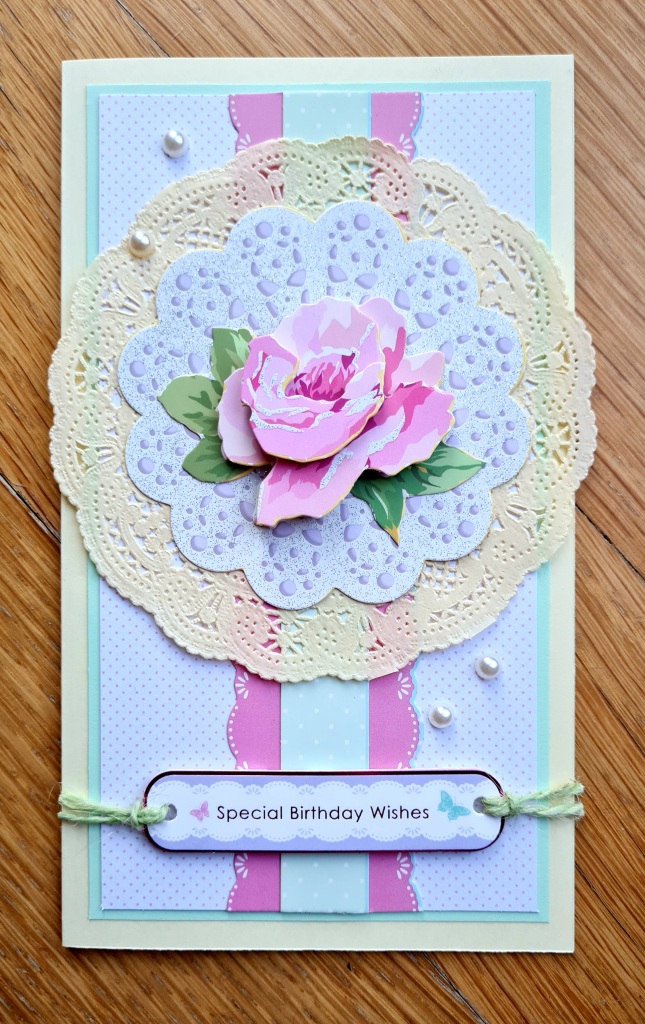
A second card, also inspired by another card design from the magazine, is created using the same sized card base. This time I added the pink and green strips in the kit to the long dotted card provided and matted it on matching green paper from my stash. I also used the same sketch as the previous card.

The foiled sentiment also came from the kit, but I punched the holes on both ends and added green twine for a whimsical look. The kit also provided half pearls which I made full use of, though I had to use my own adhesives (Kuretake Zig Squeeze & Roll gives little dots of glue) for attachment.

The photo didn’t capture it well, but the white dolly die cut is sparkly. I am glad I have a full set in my stash for a suitable sized coloured paper dolly for contrast AND it matches the lemon card base!

For this set of decoupage flowers, I did not use all the 6 layers provided; instead, I put 2 layers aside for future projects. Except for the three decoupage floral sets (two of which are used here), the die cuts in the kit are mainly sentiments & tags, so layers 2 (the entire rose + a couple of leaves) & 5 (for depth) of this particular decoupage set would provide a nice little floral focus for another little card in future.

ATC Cards of Recent Projects

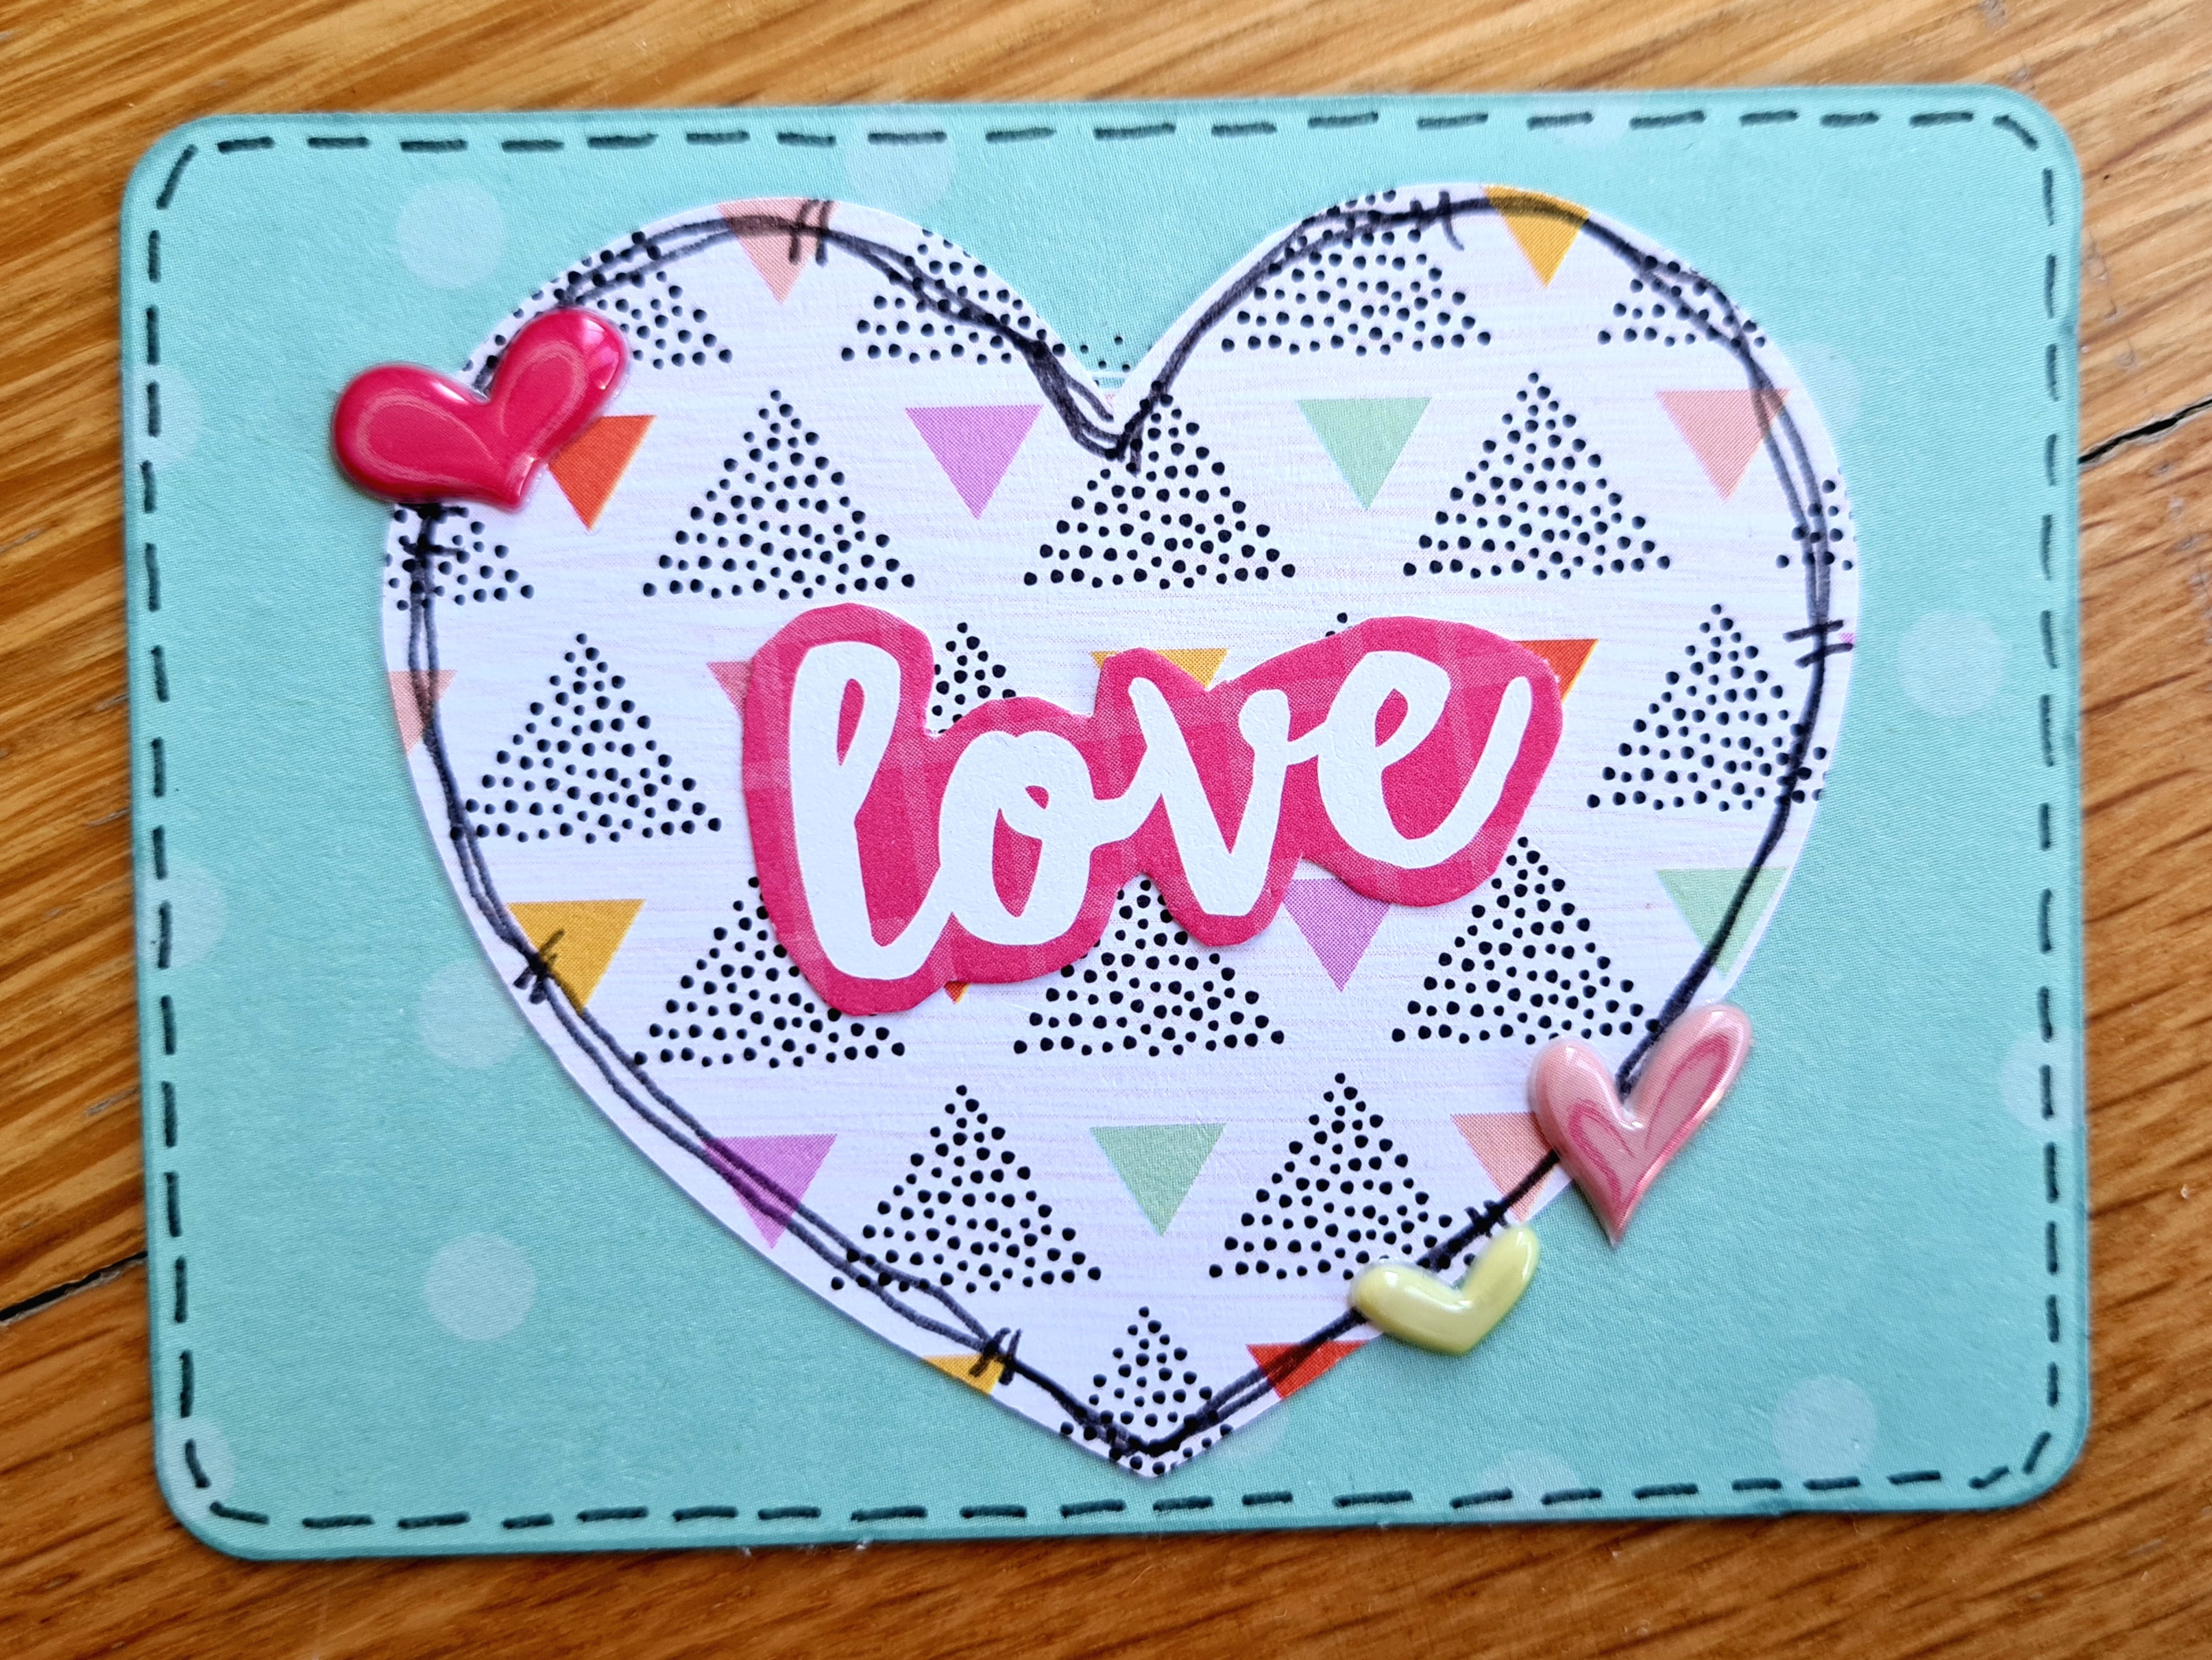
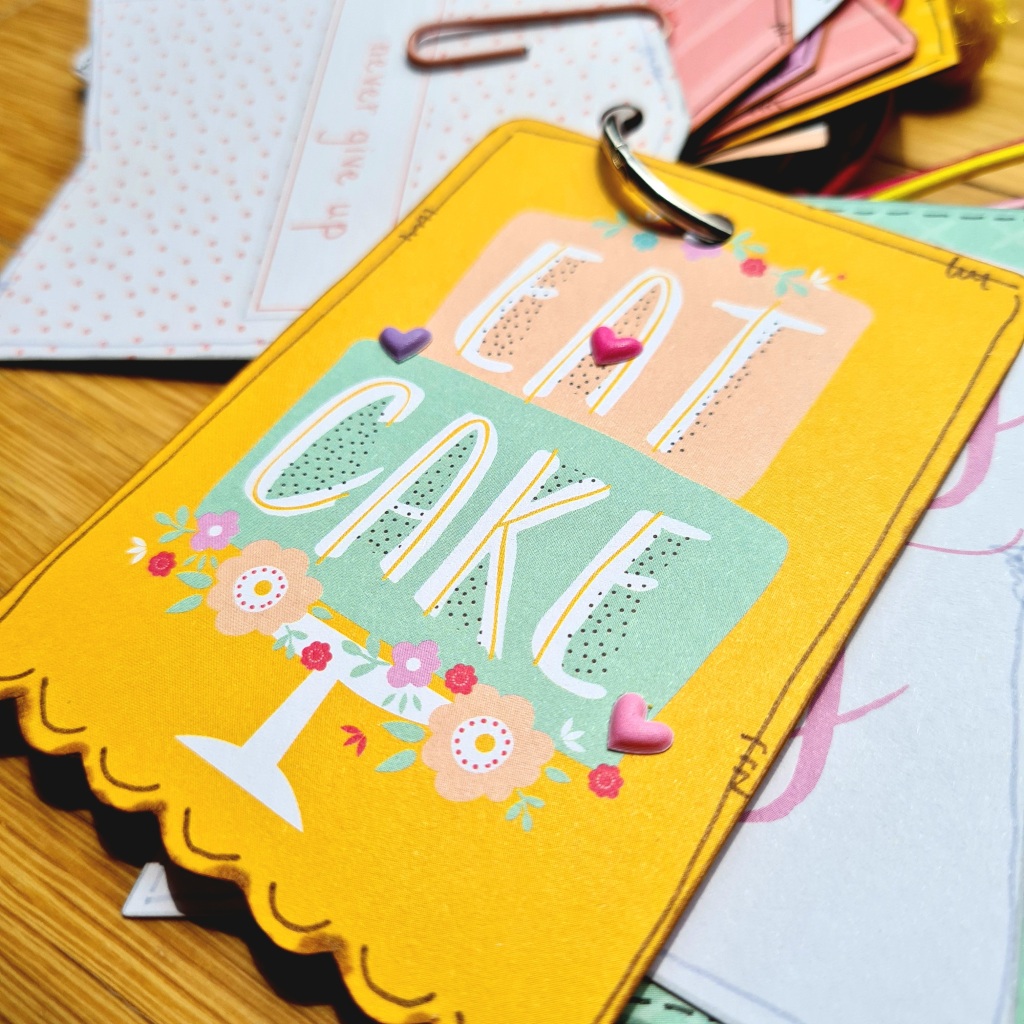
Busy July is over and I am finally able to concentrate a bit more on crafting. That’s when I realised I have not made any artist trading cards to record my recent projects! I had 4 shaped tags leftover from my DCWV Tag Stack tag flip book, so I combined 2 of them to create this card. It’s great to have double-sided papers to work with: when the sentiment on the tag is not ideal, simply flip over to use the reverse side to create on!

The sentiment is fussy cut from a third tag. I added doodle borders and 3D heart stickers, just as what I did for the tag flip book. But only when I tried keeping the card did I realise I had forgotten to trim the shaped tag to ATC size of 2.5″ x 3.5″!! I’m really pleased with this little card though, and couldn’t bear to cut into it, so I’m keeping it for future use.

Instead, I dug the bottom of the barrel for scraps to create another ATC. The final result isn’t as pretty as the first card – wanting to cover up the large chunk of words in the centre of the base tag (the last remaining shaped tag from the sheet), I layered whatever paper strips I had left for something that looks passable. (notice how I’m trying to use camera tricks to make the ATC looks better?)

Again, I added doodle lines and the 3D stickers used in the tag flip book project. This is my way of record-keeping, to remember via ATCs what I’ve created.

For the Art Collage Postcards project, I used the Daphne’s Diary magazine page describing the lemon paint printing project as the base for my ATC, selecting a 2.5″ x 3.5″ rectangle that shows a nice sliced lemon print. But as the thin magazine paper wouldn’t hold up well, I reinforced the reverse with the scrap strips of cardstock I used on the postcards. Another lemon print fussy cut from the same page decorates the corner, leaving the rest of the space free for me to record the project.

Other fussy cut lemon images from the same page help fill up the background of the ATC. The sentiment is also cut from the same page, reflecting the summer theme of the postcards project. The black & white cup is fussy cut from the same colouring page as the butterflies used in said project.

All in all, a most suitable ATC to remember the art collage adventure!

Art Collage Postcards using Magazine Papers

Issue 4-2022 of Daphne’s Diary magazine provided plenty of crafting inspiration for me this month (as usual we get it a month late in the bookstores here). After reading the magazine over 2 nights and reminiscing with the husband our trip to Interlaken (which didn’t seem as interesting to me as the article described, though my husband disagreed), I proceeded to start crafting with the many resources the magazine provided.

One entire article on an Italian pasta lunch gathering provided not just the usual recipes and decorating tips, but also related craft projects as well. The 5″ x 7″ menu cards provided are printed on thin cardstock, but having no intention whatsoever to organise such a formal meal, I decided to make use of the pretty papers to make art collage postcards instead.

I covered the printed menu side with coloured cardstock from my craft stash; this also helps to reinforce the postcards. The cardstocks are trimmed to 4.25″ x 6.25″, and I plan to restrict my writing to an area less than 4″ x 6″. Then my friends can use the postcards as photo mats (for 4R photos) if they want to!

The front of the menu cards are lovely Italian-themed prints. These become beautiful backgrounds for the lemon slices that were meant to serve as templates/stencils for paint printing. I then scoured the magazine for suitable sentiments and pictures to complement the lemons!

The black & white butterflies are fussy cut from a colouring page in the magazine. The various forms of Summer” are cut from the article relating snippets of facts about the season.

The ice lolly picture came from the same article too, as does the sentiment. The slice of apricot came from the project for an apricot wreath – there are still plenty of pictures left for a small wreath later! I can’t quite remember where the strawberries are fussy cut from though: perhaps the recipe for a strawberry cake?

Isn’t it amazing what can be found from a single magazine if one looks hard and long enough??!!

Quick Tags using DCWV Tag Stack

I wanted a fast & easy project, something bright and cheery too, so I turned to a recent purchase: the DCWV Tag Stack – 36 sheets of double-sided 12″x12″ papers. With 18 different types of tag designs available, I was able to chose something that matched my mood of the moment – basically I wanted to make something similar to my previous Pebbles Inc mini tag flip, something with positive phrases and easily embellished without too much work.

I selected 2 different sheets from the stack that had similar bright colours & styles. One of the sheets consists of pre-perforated shaped tags, so I trimmed the other sheet of cut-aparts to the same shapes and sizes. The tags are glued back-to-back to create a double-sided tag flip.

The tags are accentuated with doodle borders and 3D stickers from my craft stash for a tad of dimension.

Some of the tags embellished with felt and quilled stickers. Video flip-throughs showcasing all the designs – front & back – of this tag flip are available on my Instagram account.

The tags are edged with brown or grey markers to cover the white core of the paper. This also creates a more homogenous look to the entire tag flip.

I had tried to include a yellow-coloured paper clip when embellishing the tags, but as the clip would obstruct the words on one side of the tag or the other, in the end, I used it as a dangle on the front of the tag flip instead. A couple of charms from my stash completes the look.

All the tags are held together with a metallic binder ring, decorated with cut rubber hair bands of matching hues. This is my positivity book of the moment, but the tags can also be used individually using the hairbands for attachment.