Tag Archives: stickers

Daiso Stained Glass Rose Windows

Found a beautiful Paint by Sticker set in Daiso last month. It’s apparently designed for adults (other sets being sold are really obviously for kids), and features a lovely rose in a window, stained glass style. I love that they have 2 different colour combinations for the roses in the same set. With only 50 stickers per set, it took only about half an hour to finish 1 stained glass window.

The craft kit looks easy, but as the stickers are made of filmy translucent plastic, the project turns out more complicated than I expected. After the 1st few stickers, I started using a pincer, so that my fingerprint oils wouldn’t leave a visible mark on the stickers. But if I hold the pincer too tight while removing the sticker from the base film, it may scratch the sticker too!

It’s also important to position the stickers properly – if a mistake is made and had to peel off the sticker from the plastic frame for repositioning, there would also be an obvious residue mark on the translucent sticker. Not to mention the resulting overlaps with adjacent stickers……

It’s not necessary to work in order of the numbers. The numerical order given provides a good guidance, but it’s more important to add stickers to adjacent blocks. Otherwise may result in a lot of overlaps when a sticker gets surrounded. My 2nd attempt with the red rose looks much better after my experience with the 1st yellow rose.

Fortunately, the defects are hardly visible after flipping the window to the reverse side. I backed the plastic against the remaining white sticker backing paper, so that the colour shows up clearly. Totally love the result!!!

The set includes a simple plastic stand for display (see above picture), but it’s not very sturdy. The rose window would topple over at the slightest breeze. So I’m using my own display stand for the rose windows for now. After I’m tired of seeing them on my cupboard top, I may consider making the flat stained glass windows into cards too!

Decorated TN Kraft Folders

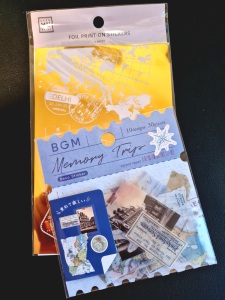
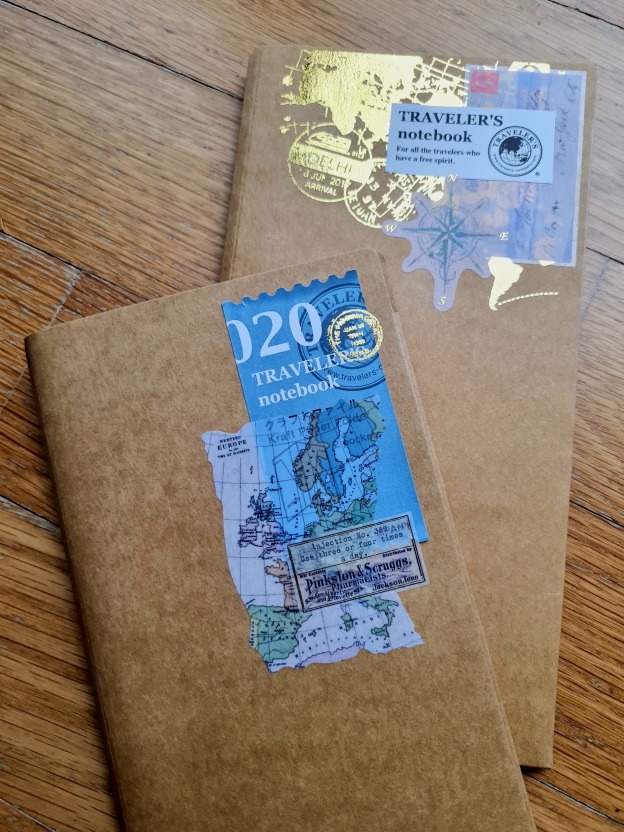
I have left the kraft folders in my standard Traveler’s Notebooks unadorned, thinking it’ll be more meaningful if I use stamps/stickers from my holidays to decorate them. But since our Japan holiday was cancelled, and I was attracted by the BGM Vintage Blue Flakes Seals, I decided to combine them with the MU Craft Foil Print-on Stickers (Postage) for some quick & easy embellishments.

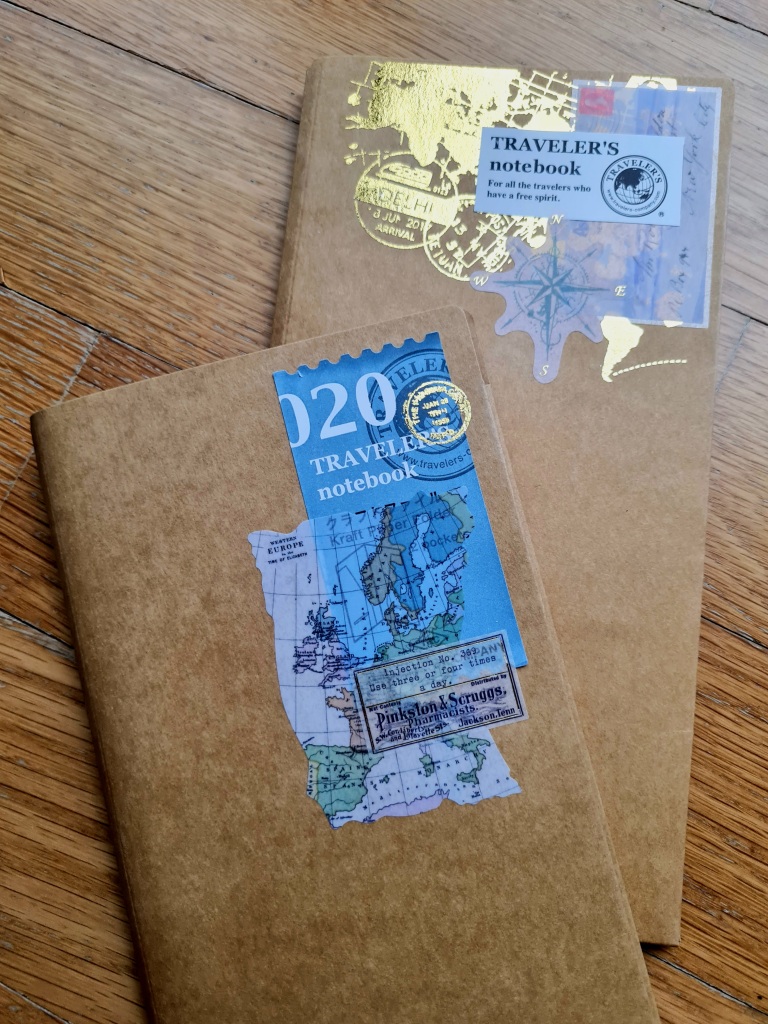
The blue sticker from the TN Kraft Paper Folder packaging was gingerly removed and placed on the top right corner of one of the kraft folders, then 2 stickers selected from the BGM pack to create a simple collage. I love how the PET film and washi stickers from the same pack complement each other for a cohesive vintage look!

For the other kraft folder, I first laid down a background from the MU Craft Foil Print-on Stickers, then layered on the BGM stickers. A mistake, since the gold foil is no longer shiny after covered by the translucent stickers. The whole design is topped off with a segment cut out from a paper label from a TN refill pack.

I was initially surprised by all that shiny gold on the MU Craft Foil Print-on Stickers and was handling the sheet very carefully. Only upon usage did I realise the white printed segments are the areas to be rubbed on for transfer, not the reflective gold areas. It’s nice to be able to fussy cut out little spots of designs to be used wherever one desires.

The back of the kraft folders are embellished in a similar manner, this time in the bottom left corner. I made sure there’s a mix of PET film, washi stickers and gold foil rub-ons for variety.

I left plenty of white space in the embellishment of these folders as I love the look and feel of the brown kraft paper. The designs are also totally flat, so that I can easily clip on maps & papers on the flat surface when using the TN notebooks on my travels. Initially I considered decorating the inside of the kraft folders too, but decided against it in the end. Those areas will be left for stickers & stamps collected in future travels!

Simple Flat Cards

Recently I came across another stack of WIPs (works-in-progress) – cards made from the free papers provided in Issue 153 of Cardmaking & Papercraft magazine. Imagine, they’ve been in my to-be-finished pile since early 2016!!!

Those were the days when I still had the stationery shop in my neighbourhood mall to print out coloured digital papers. I had completed multiple cards using variations of the same sketch, and all that was left was to stamp a suitable sentiment in the centre of each A6 card. But 3 years had passed and I’m still just as lazy with breaking out my stamping supplies as I was then. So I decided to take a shortcut and using stickers instead.

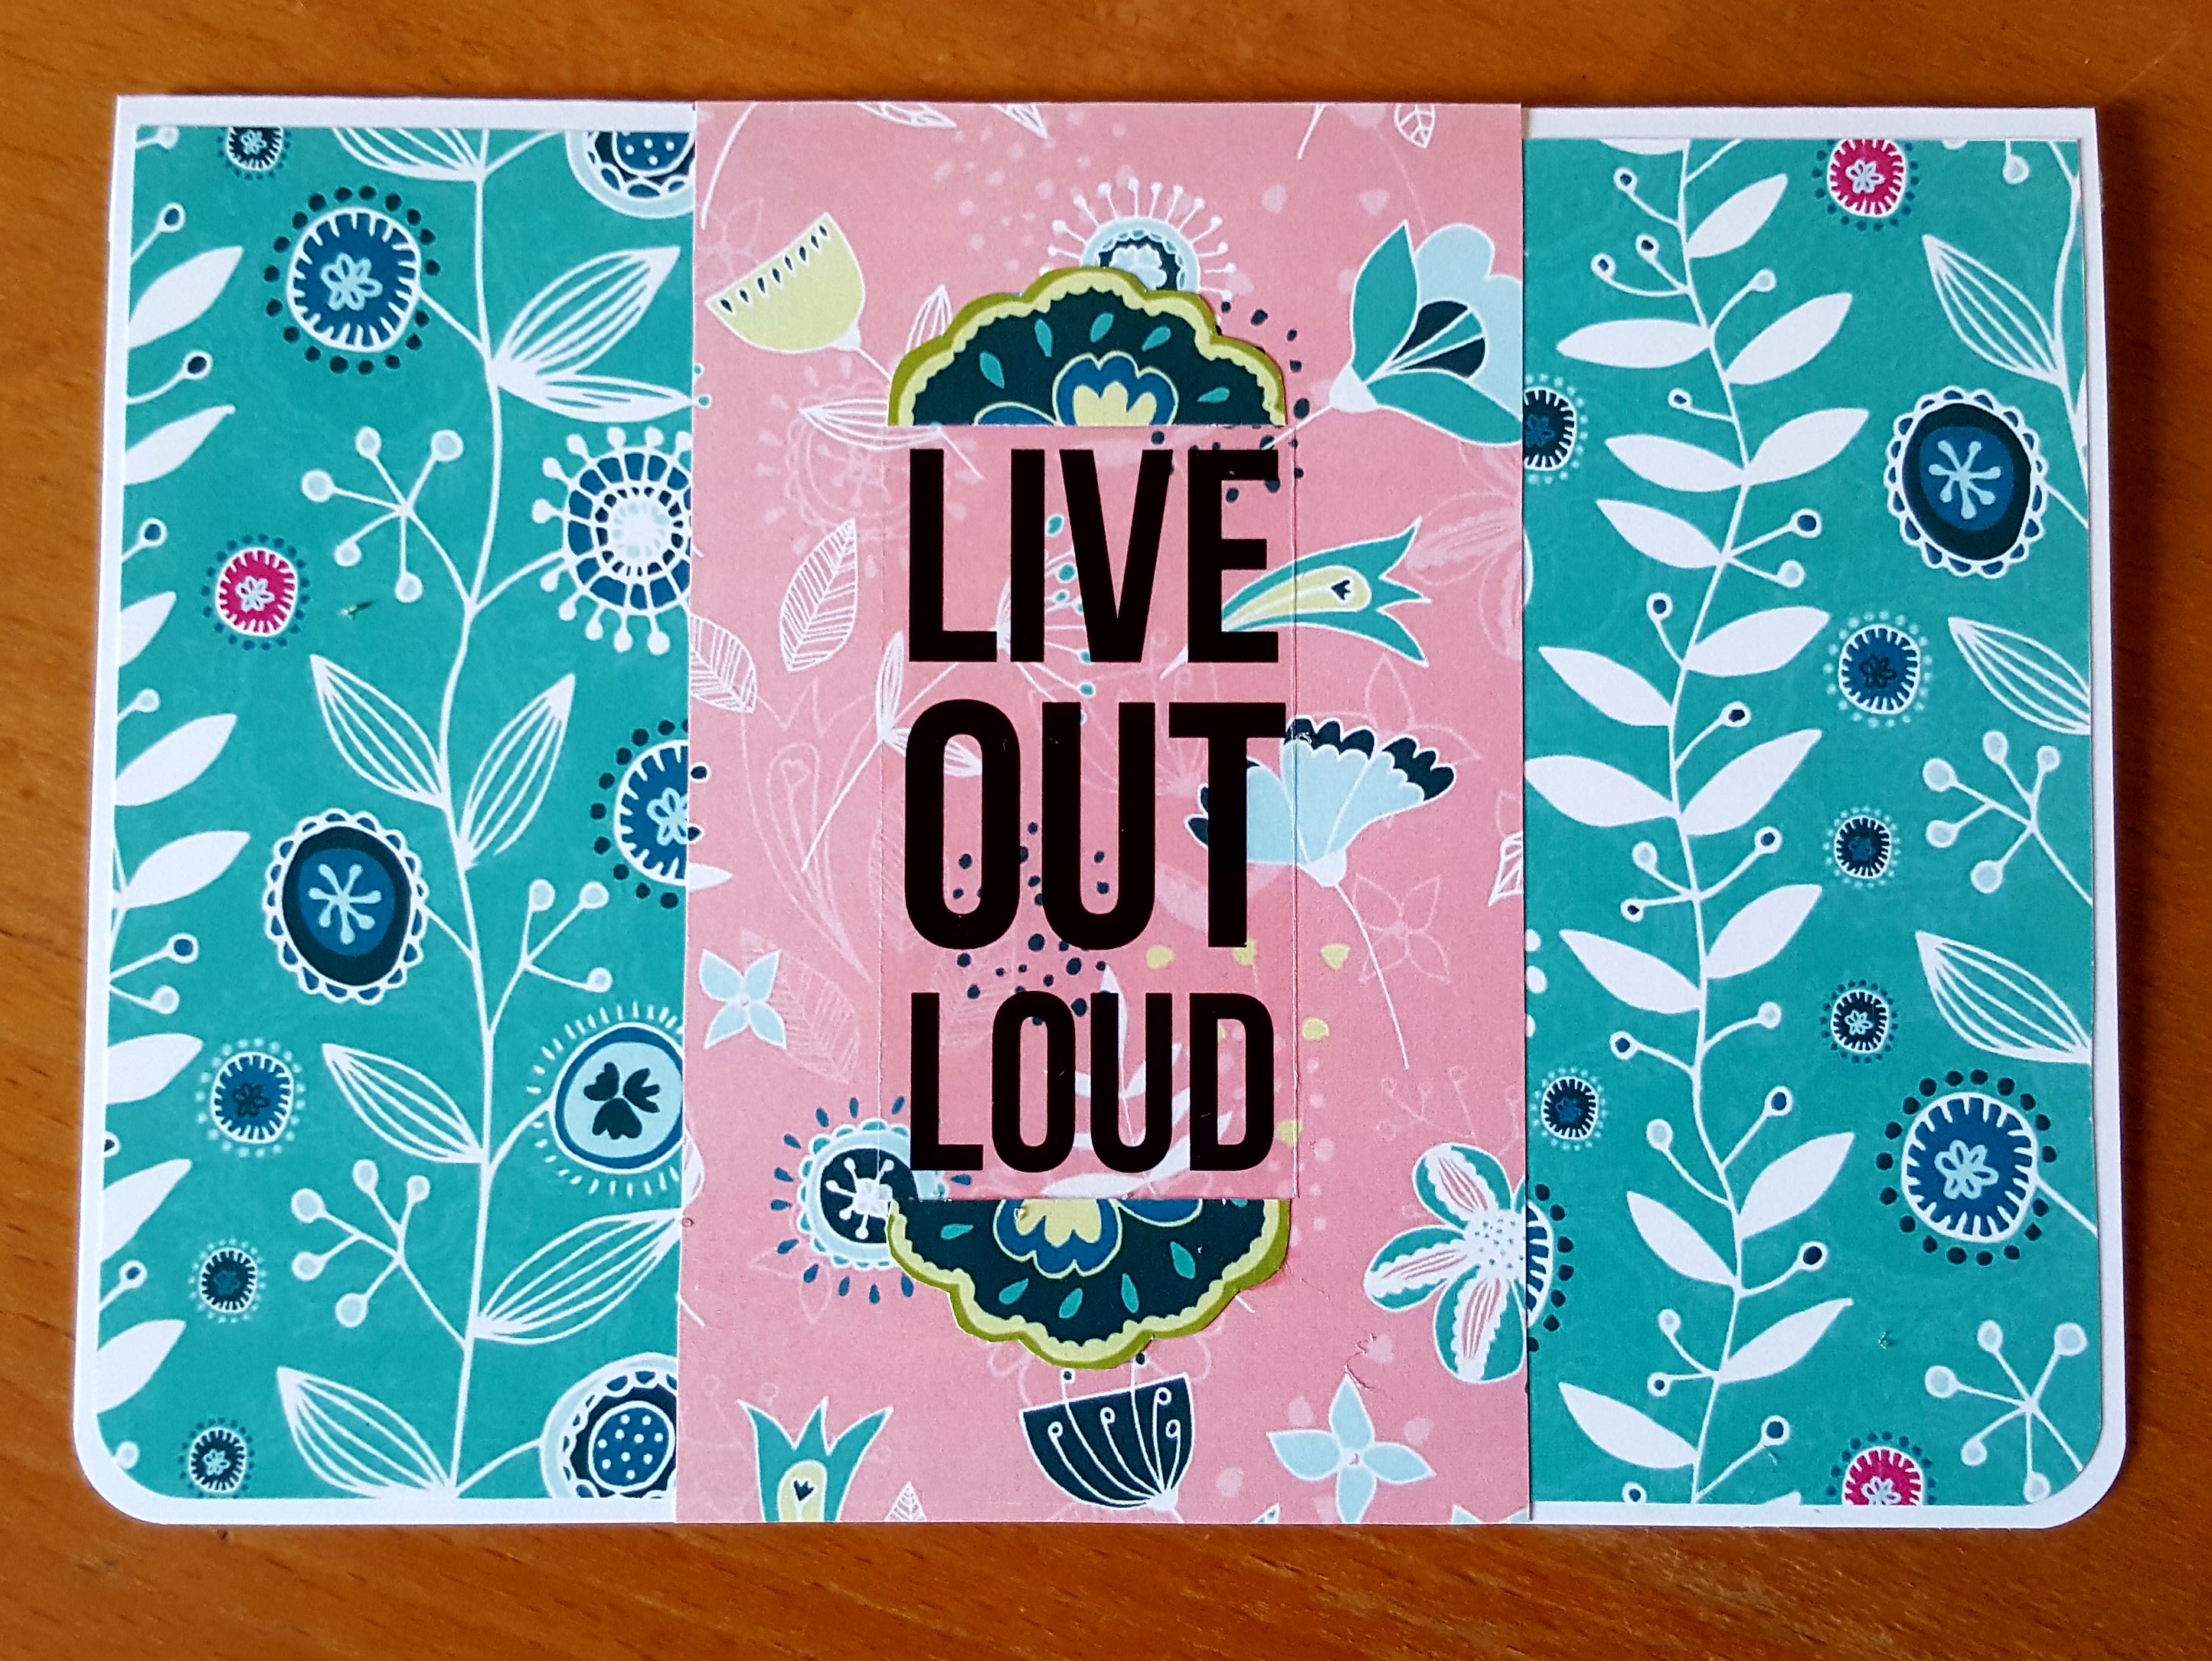
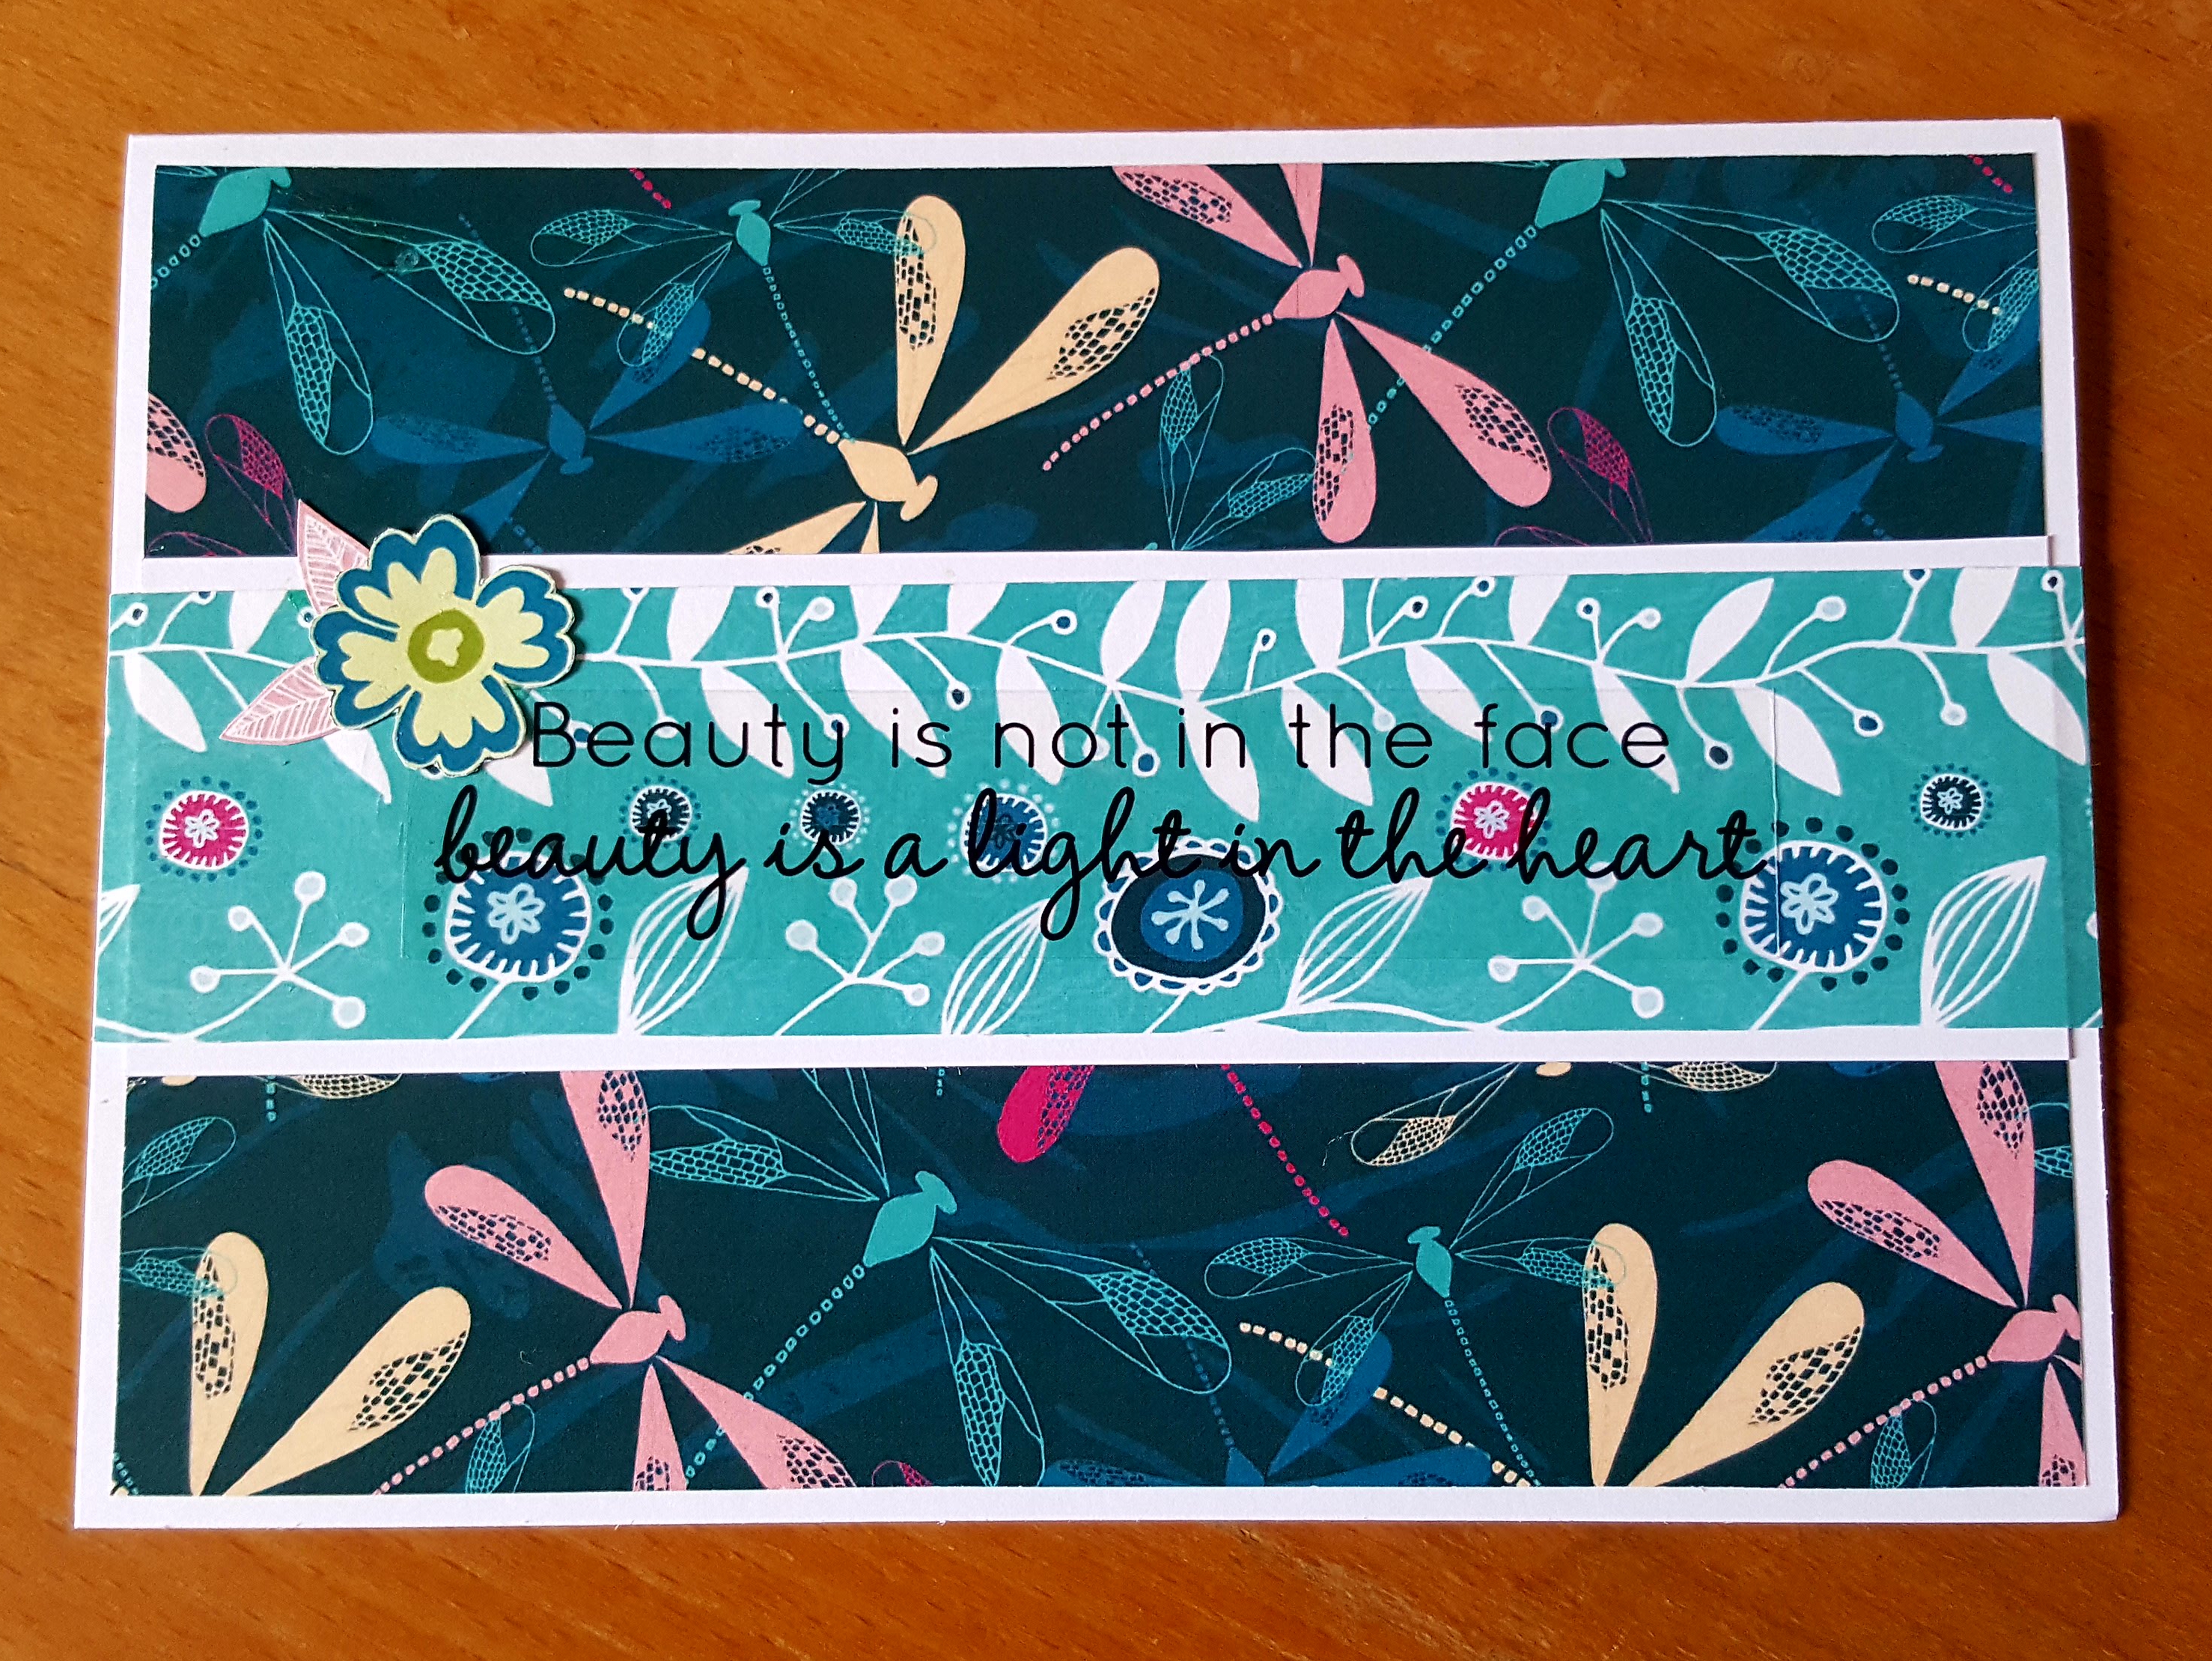
So 3 cards finished in quick succession by simply selecting a suitably sized clear sticker from Kaisercraft and sticking them on:

The effect is not as neat and pretty as stamping would have been. But it’ll do…..rather than have these go cold storage for another 3 years!

20190716_175224.jpg

With the leftover scraps I did some fussy cutting for little flowers/leaves for simple embellishments. These would also be used as envelope seals or to decorate the inside corners of the cards.

20190716_165527.jpg

Another completed project (at long last!), how many more to go in my piles?????!!!!!!!